Custom domain on GitLab pages
Setting up GitLab pages
To use a custom domain with GitLab you first need a website published with GitLab pages. Follow the documentation for a detailed explanation. For a quick start, you can create a Pages website using a template like this one
pages:
  stage: deploy
  script:
    - mkdir .public
    - cp -r * .public
    - mv .public public
  artifacts:
    paths:
    - public
  only:
  - master
which is the config used for my own website.
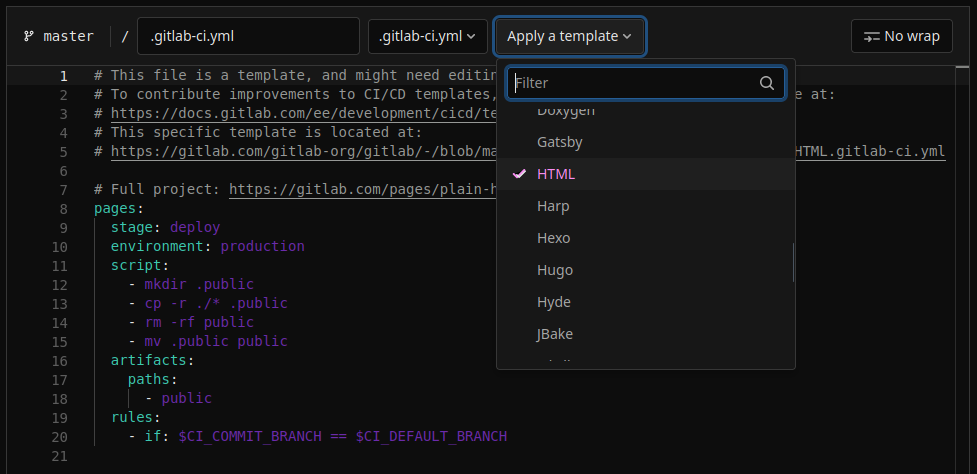
You can also add a new file from your GitLab itself by clicking the “+” button on your repository. Choose the .gitlab-ci.yml template type and choose the one
that fits your project the best (under “Pages”). For this blog, I chose HTML. Add a commit message and hit the “Commit changes” button.

If you go back to your repository you will see that next to your latest commit a blue circle will have appeared. Give it a couple of minutes and upon refreshing the page it will turn into
a green tick: the deployment is over and your website should be available at https://username.gitlab.io/repository.
For your website to be accessible by anyone, you will have to either make the repository public or select “Everyone” in the Pages visibility settings of your project.
Adding the domain name
Once your GitLab pages website is up and running, head to the Pages settings of your project and select “New Domain”. Type in your domain name, here
blog.wolfiy.ch and click the “Create New Domain” button. A verification status tab will appear; keep the tab open we will need it in a few minutes.
Editing DNS records
If you haven’t already, you now need to create your (sub)domain. The layout might differ on which registrar you are getting your domain name from, but the steps to take are the same.
Add a DNS entry. Choose the CNAME type. The source should be what you want to type to get to your website and the target the root of your GitLab Pages domain.
Select a TTL of 5 minutes and hit save.
Verifying your Pages domain
Remember the verification tab that appeared just before? You should have a text box with something like this:
_gitlab-pages-verification-code.your.domain TXT gitlab-pages-verification-code=numbersAndLetters
To verify your domain, you need to create another entry but this time of TXT type. The source should be _gitlab-pages-verification-code.your.domain and the target
gitlab-pages-verification-code=numbersAndLetters. Be carfeul to select the whole code as the text might be bigger than the box it’s in. Also choose a small TTL such
as 5 minutes and hit save again.
You can now go back to your pages settings tab and click the small arrow to retry the verification. The page will reload and the status should change to verified. If it does not work straightaway, try again 5 minutes (TTL) later. Click save and your domain should now work. The certificate will be available after a little while (around 15mins for me). Once available, the blue banner will disappear and your browser won’t show any errors when using HTTPS.
Tags: networking, domain, gitlab